Making the serial port actually work
By default your Pi has a getty/mgetty process enabled. There are many out of date instructions about disabling it. Please pay attention to the date of the post when looking for advice. The Pi world is fast changing. While those instructions were good at one time they are invalid now just as these instructions may well be invalidated in the future.
Open a terminal window and type
sudo raspi-config
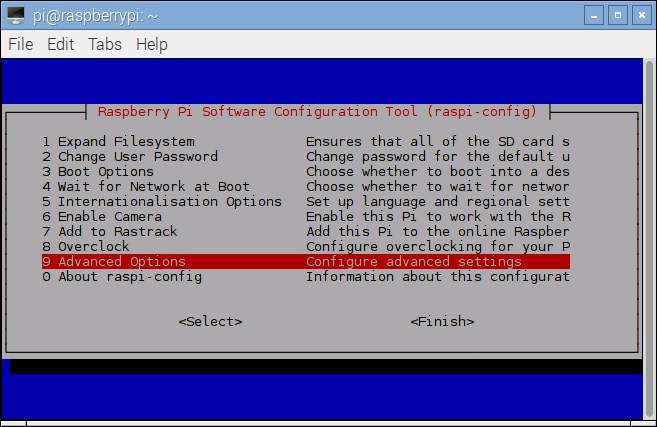
Arrow down to “Advanced Options” and hit return.

Arrow down to the Serial device and hit return.
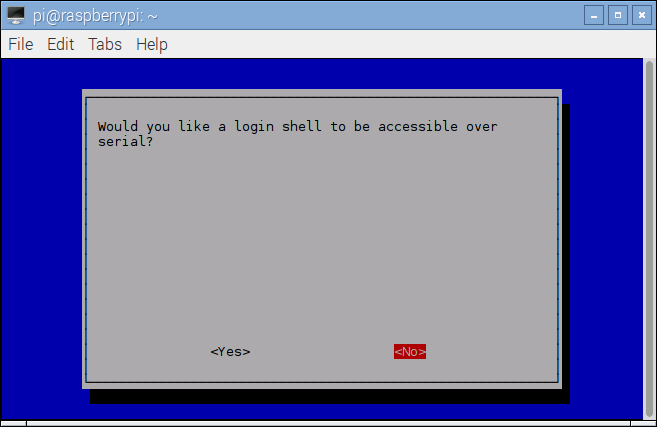
Use the Tab key to highlight “No” then hit return.
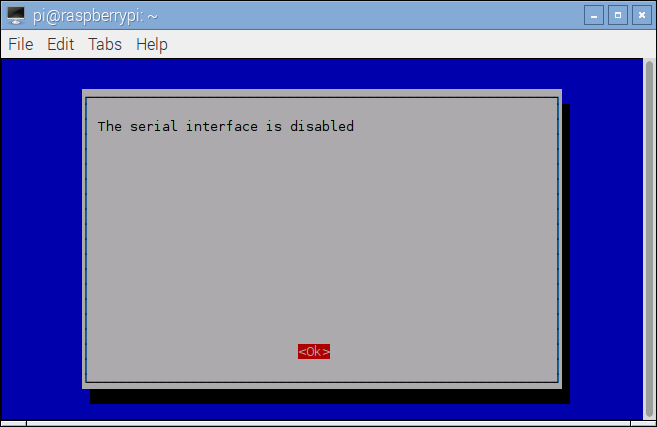
Hit return.
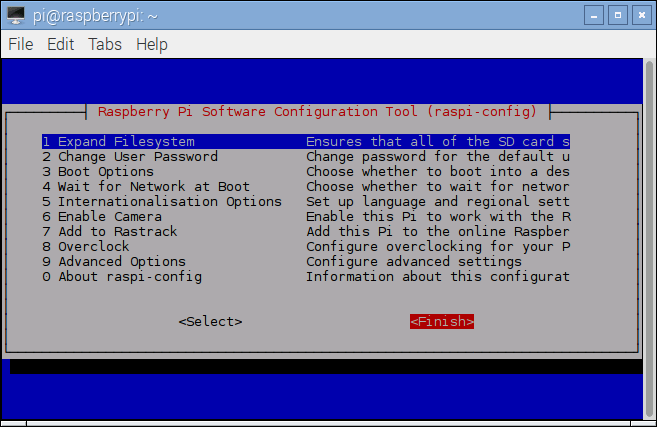
Tab to “Finish” and hit return.
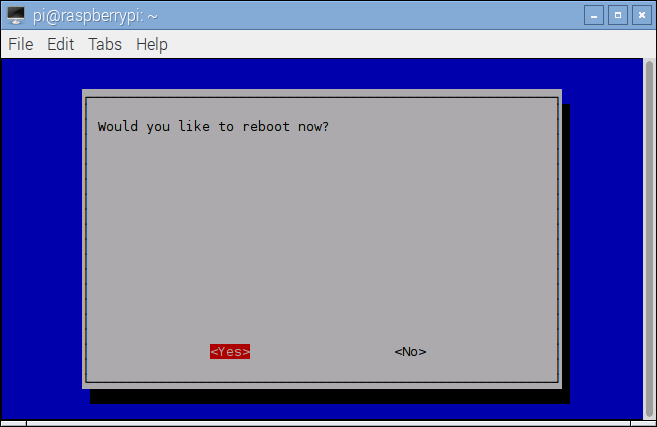
Reboot your Pi. Once booted open a terminal window and type
sudo nano /boot/config.txt
Near the bottom of this file you will see
enable_uart=0
change it to be
enable_uart=1
then type ctrl-x save the file and exit. Reboot again. Some of you are probably familiar with a computer BIOS where you can configure the system. The Pi uses a script called config.txt. There is a side effect caused by disabling serial login. The logic also disables the serial port. We want serial login disabled but we want to leave the serial port enabled.
You will find many discussions on-line about the various voltage levels of serial ports. Perhaps I’ve always been lucky because I have always used HP machines when working with a Pi. That hacking of a serial cable without using a TTL converter has always worked for me without cooking a Pi. I need to take the time now to show you the recommended method of connecting.
The first thing you need to know is that not all TTL adapters will work with your Pi. You need to open a search engine and search for:
RS232 Serial Port To TTL Converter Module MAX3232
It is important you get the 3232 because the older 232 doesn’t support the 3.3v of the Pi. Depending on the age of your computer the voltage of the serial port could be anywhere from 12v down to 5v. Here is the bottom of my TTL converter.

The VCC pin is power followed by GrouND, Receive and Transmit. Thankfully the cable which came with mine had different symbols on the wires so it was easy to trace.
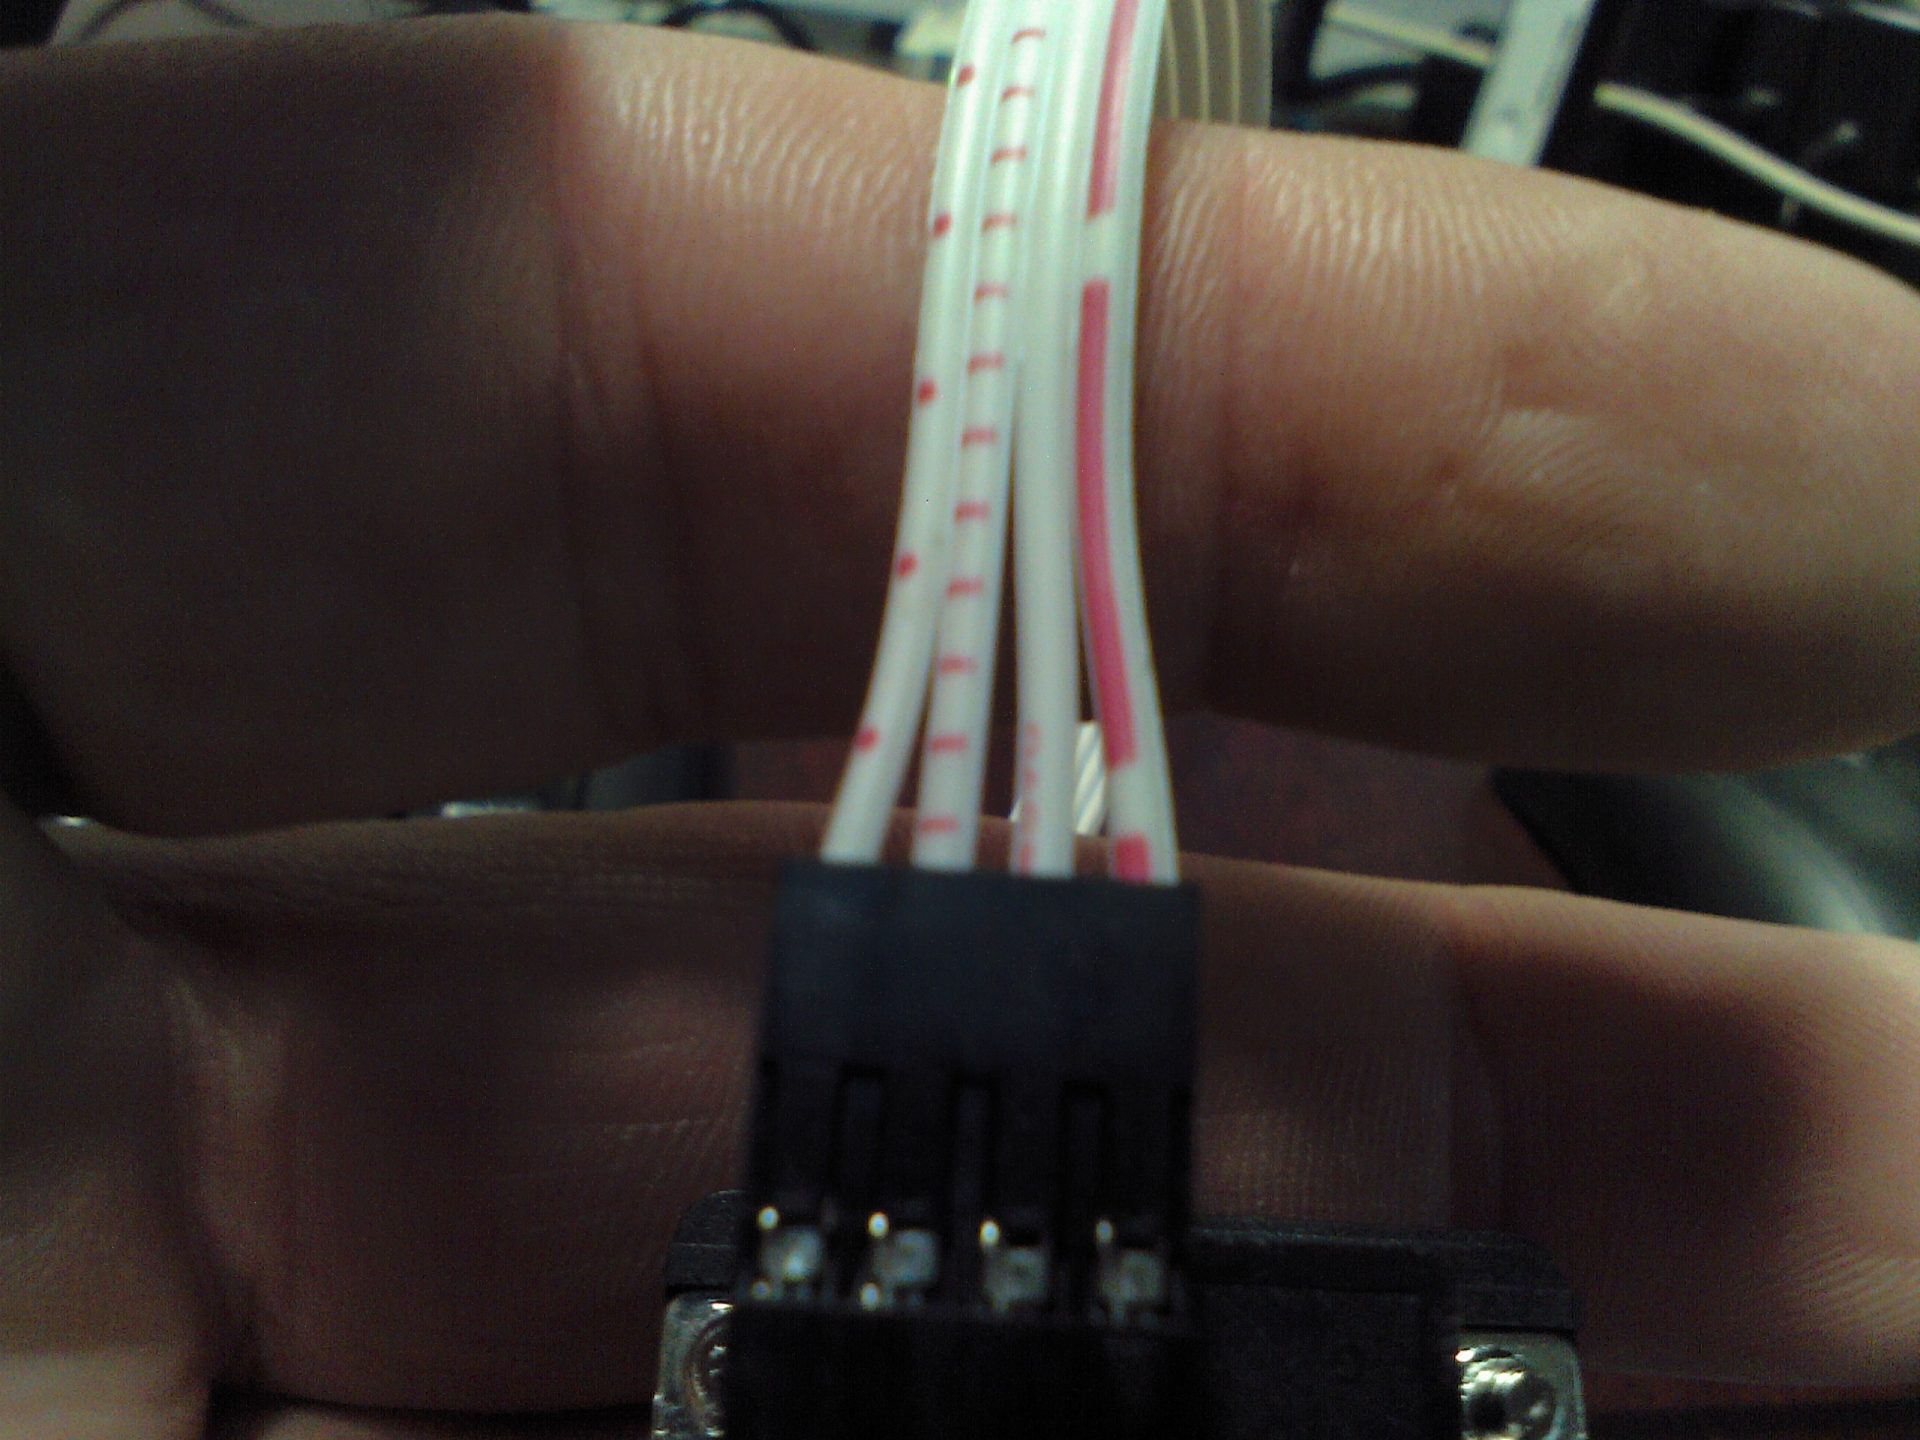
Notice that I put the connector on so the wire with the big red lines was on the power pin. That made the connector line up well for pins on the Pi. You just have to be one pin over from the top front of the pin set on the PI.

To complete the cabling I used a DB9-DB25 serial mouse adapter I had laying around.
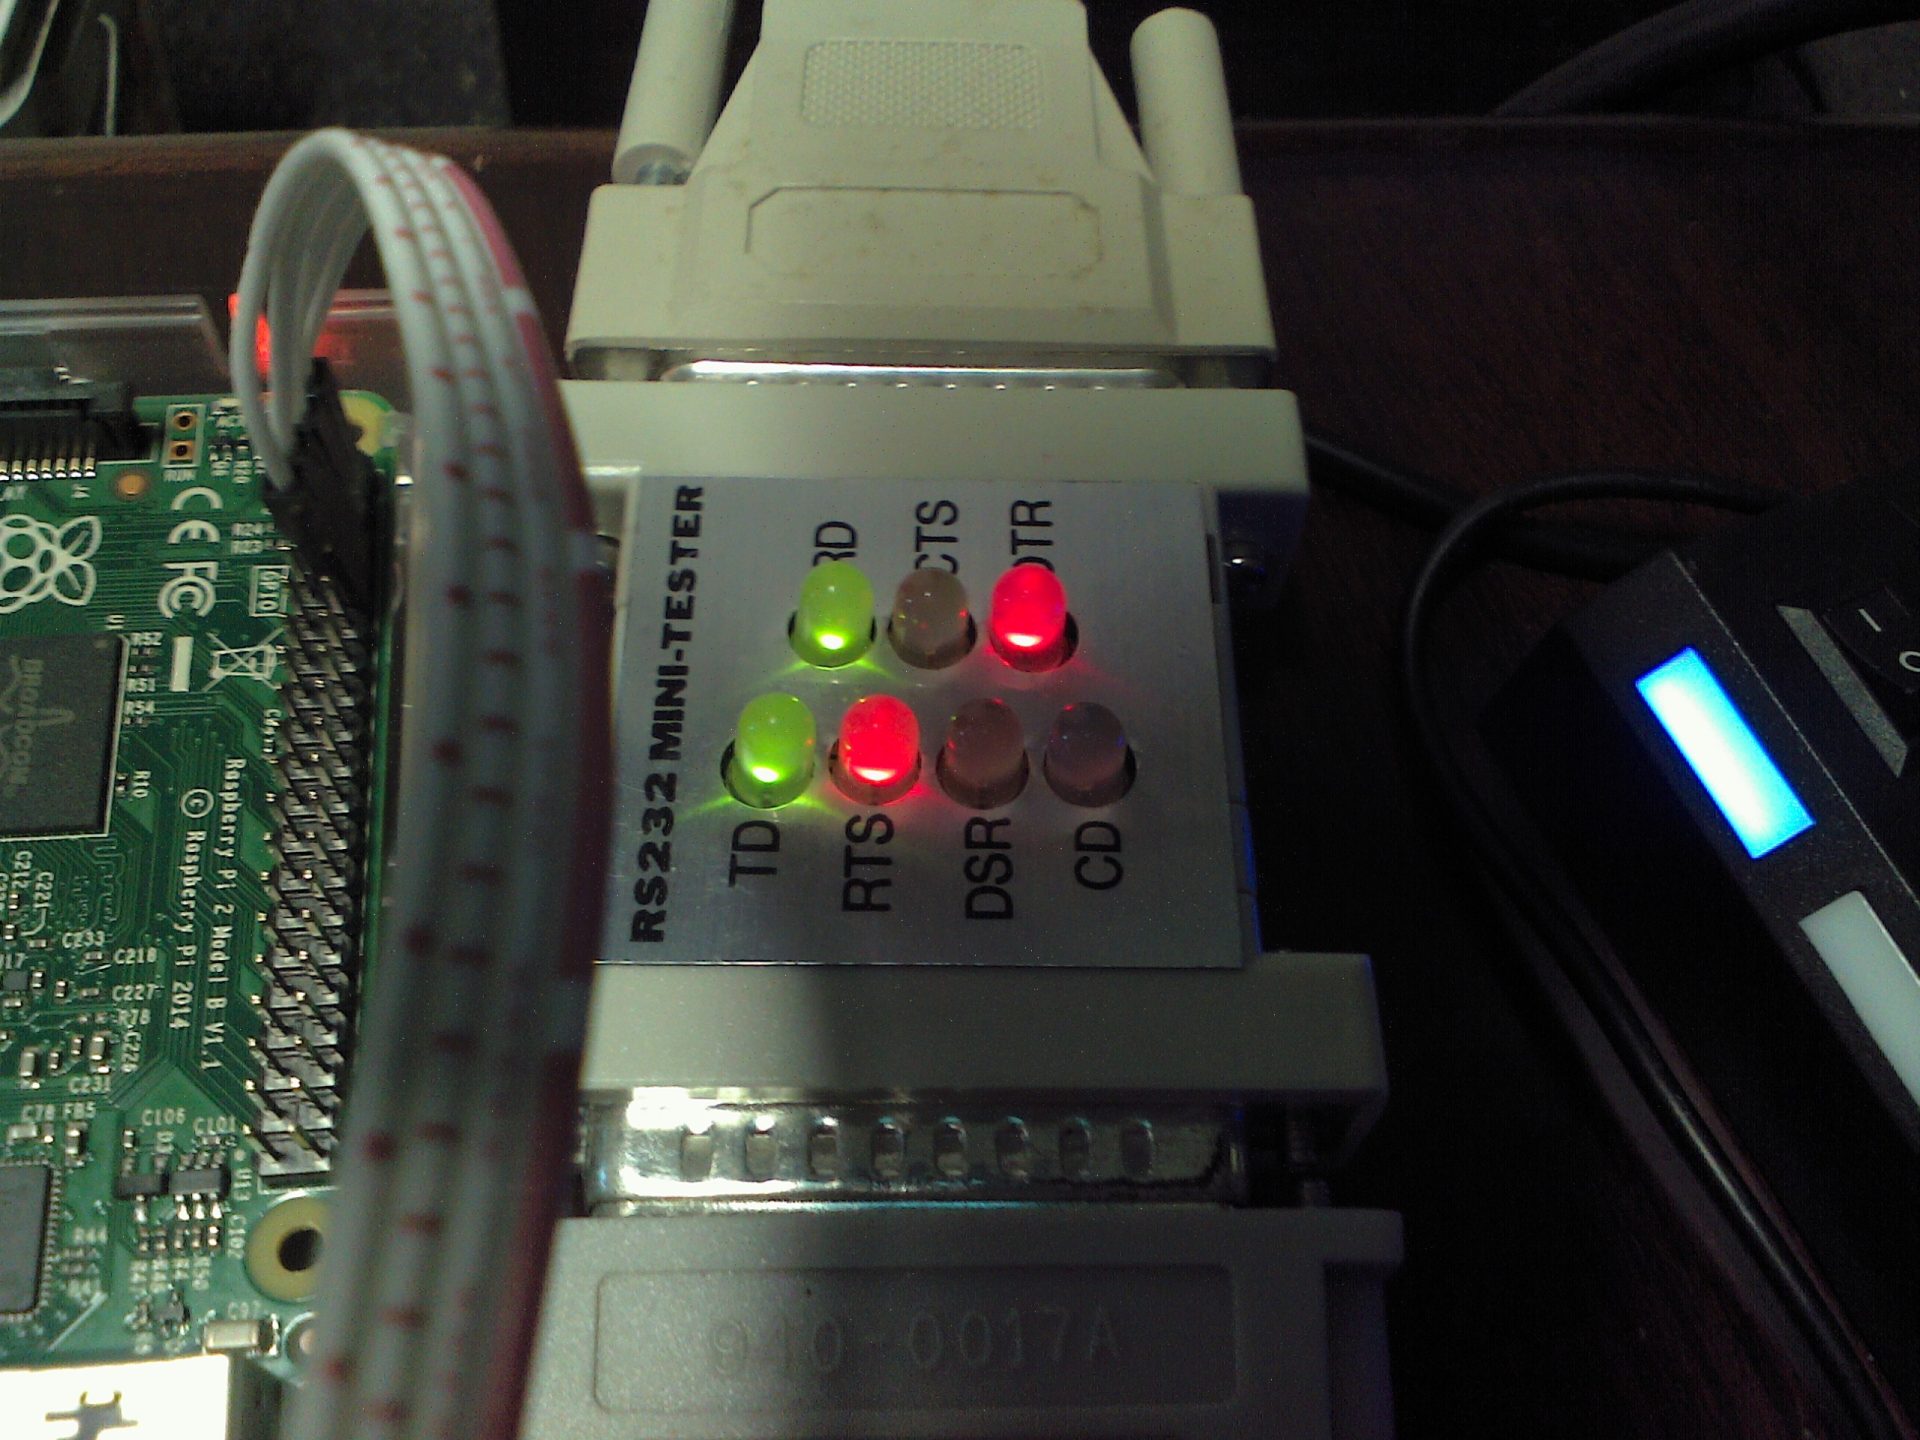
Now we are connected in the official manner.